“Segue WordPress Theme” Documentation by “themegum” v1.0.0

“Segue WordPress Theme”
Created: 12/02/2017
By: ThemeGUM
Email: support@themegum.com
Thank you for purchasing my theme. If you have any questions that are beyond the scope of this help file, please feel free to email via my user page contact form here. Thanks so much!
Table of Contents
A) About Segue WordPress Theme - top
Segue is an awesome theme for multipurpose blogging and journal.
Features
- Slider sidebar
- 3 layout blogging
- 100% responsive
- Great social Engagement
- Fully control your widget
- Bundled with Awesome Font Glyph icon
- Post appreciating
Compatibility
- Compatible with all browser
- Work fine with other WordPress exstension
- WordPress version 3.7, 3.8, 3.9, 4.x
B) Requirements - top
This theme does not require anything except only version of WordPress 3.7 or higher.
You can update your WordPress version by downloading at WordPress Official
C) Installation - top
Is easy to install, just the same as other themes. No problem, i will give you some guide as below:
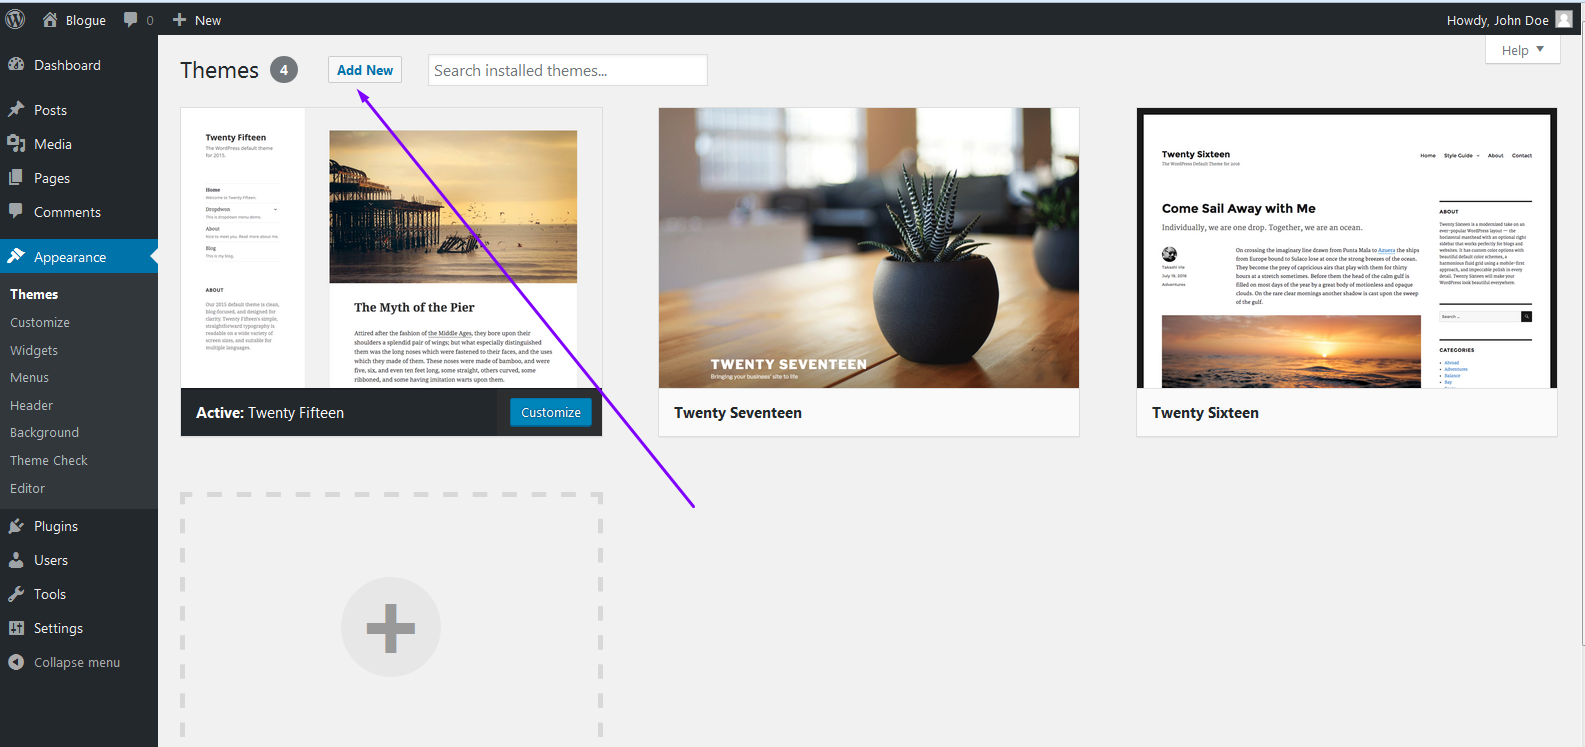
- Go to Dashboard > Themes > Click on 'Add New'
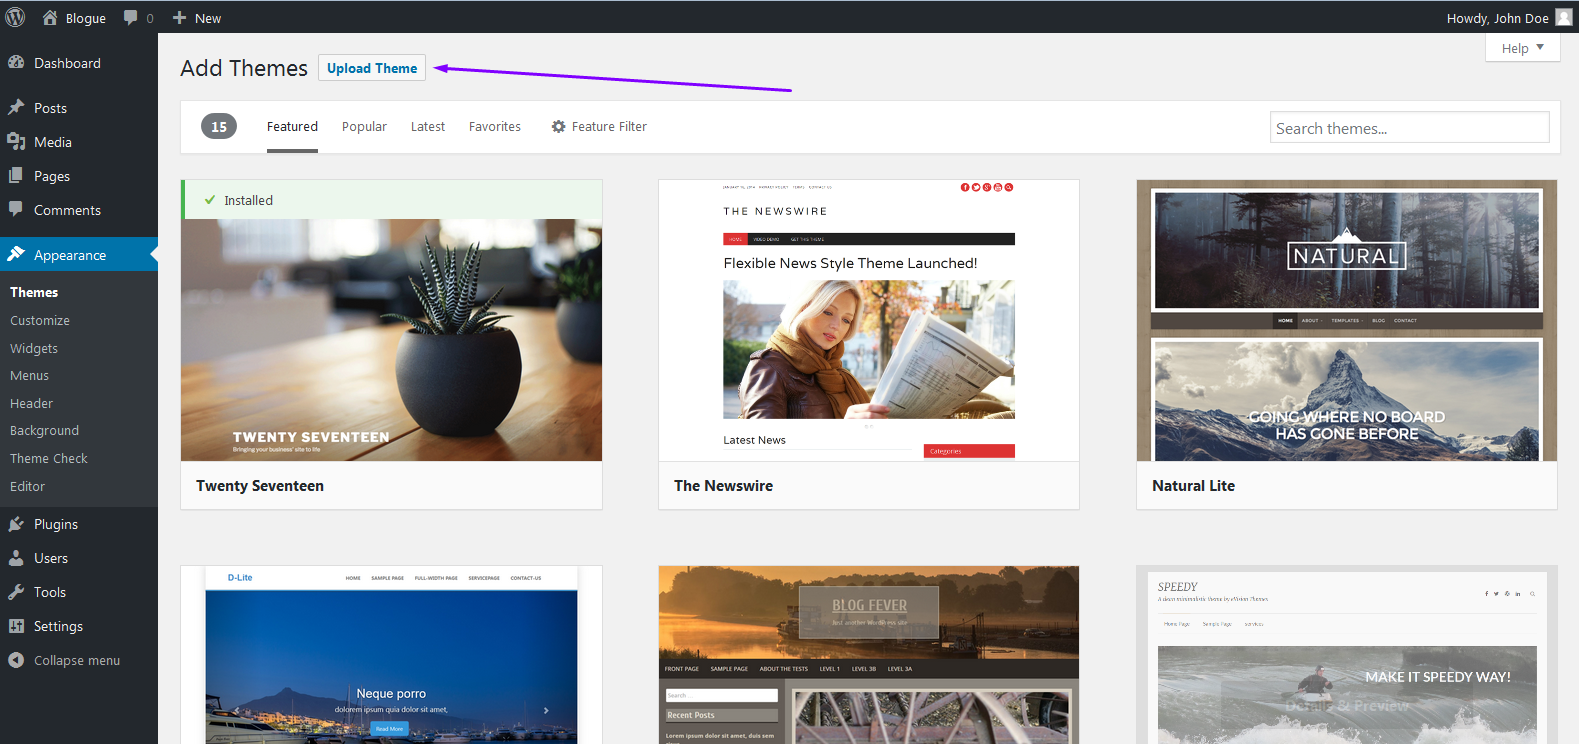
- Click on 'Upload Theme'
Browse for the theme you've have downloaded. Click on 'install'
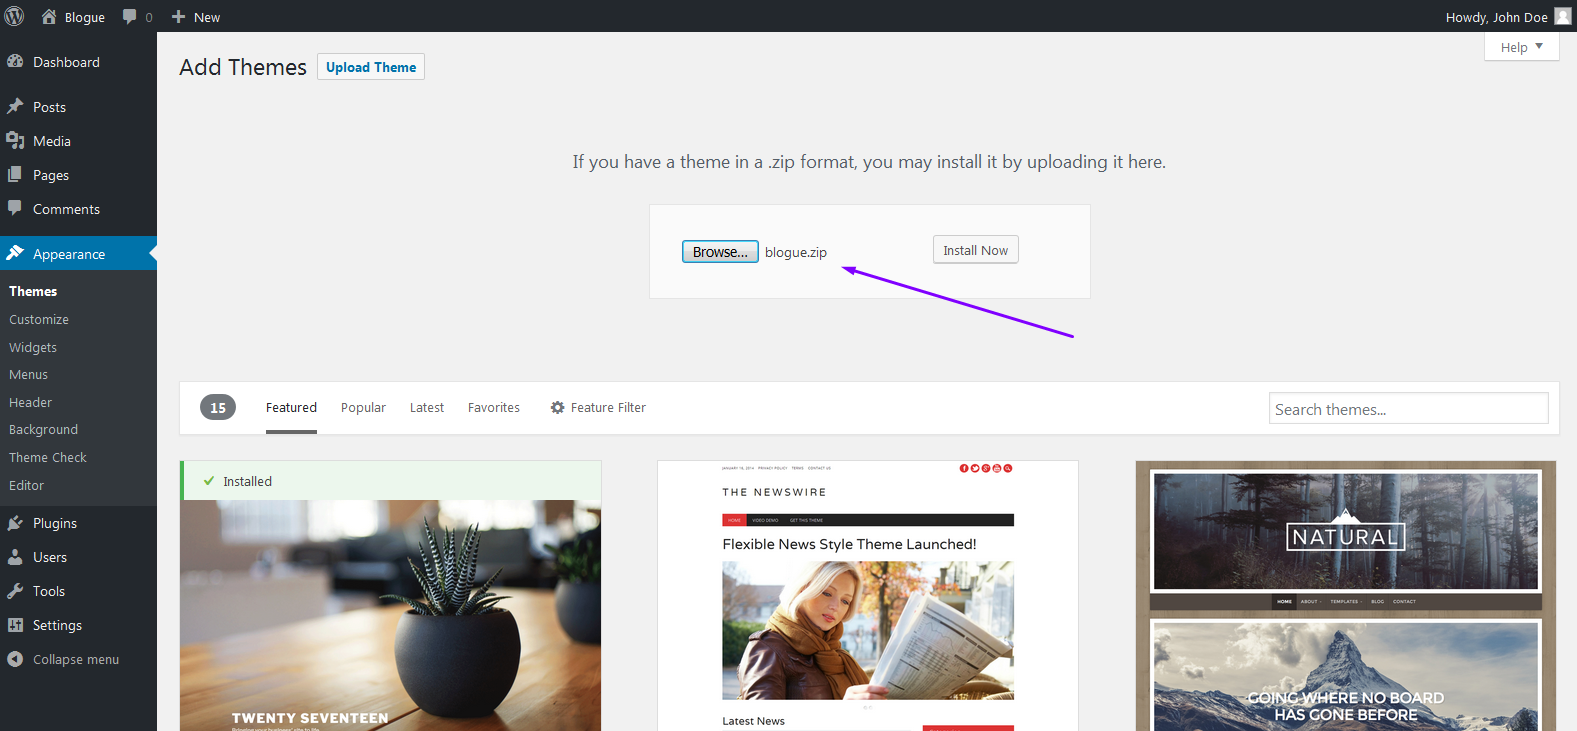
- And Activate the theme
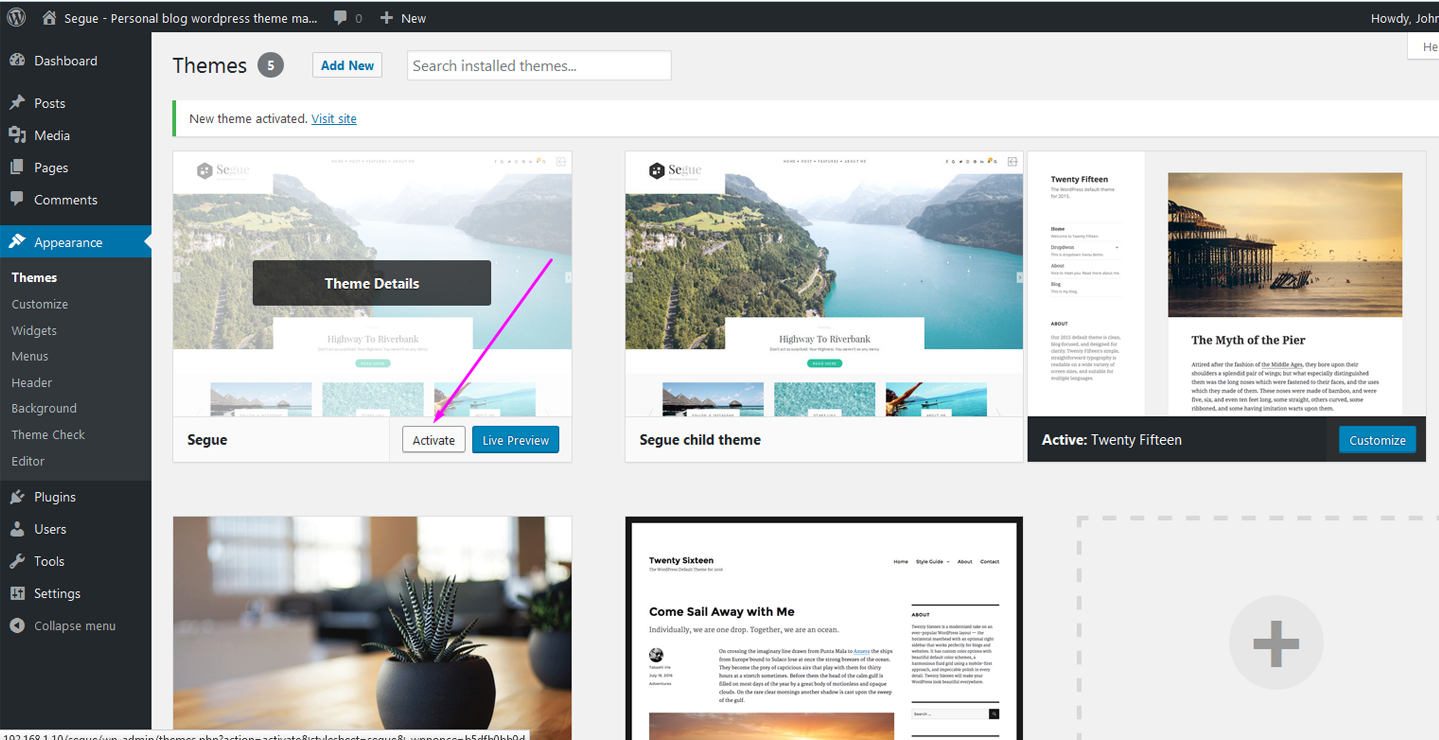
After install the theme finished, from themes manager click "Activate" link on "Segue" row
D) How To - top
Disable / enable slide sidebar
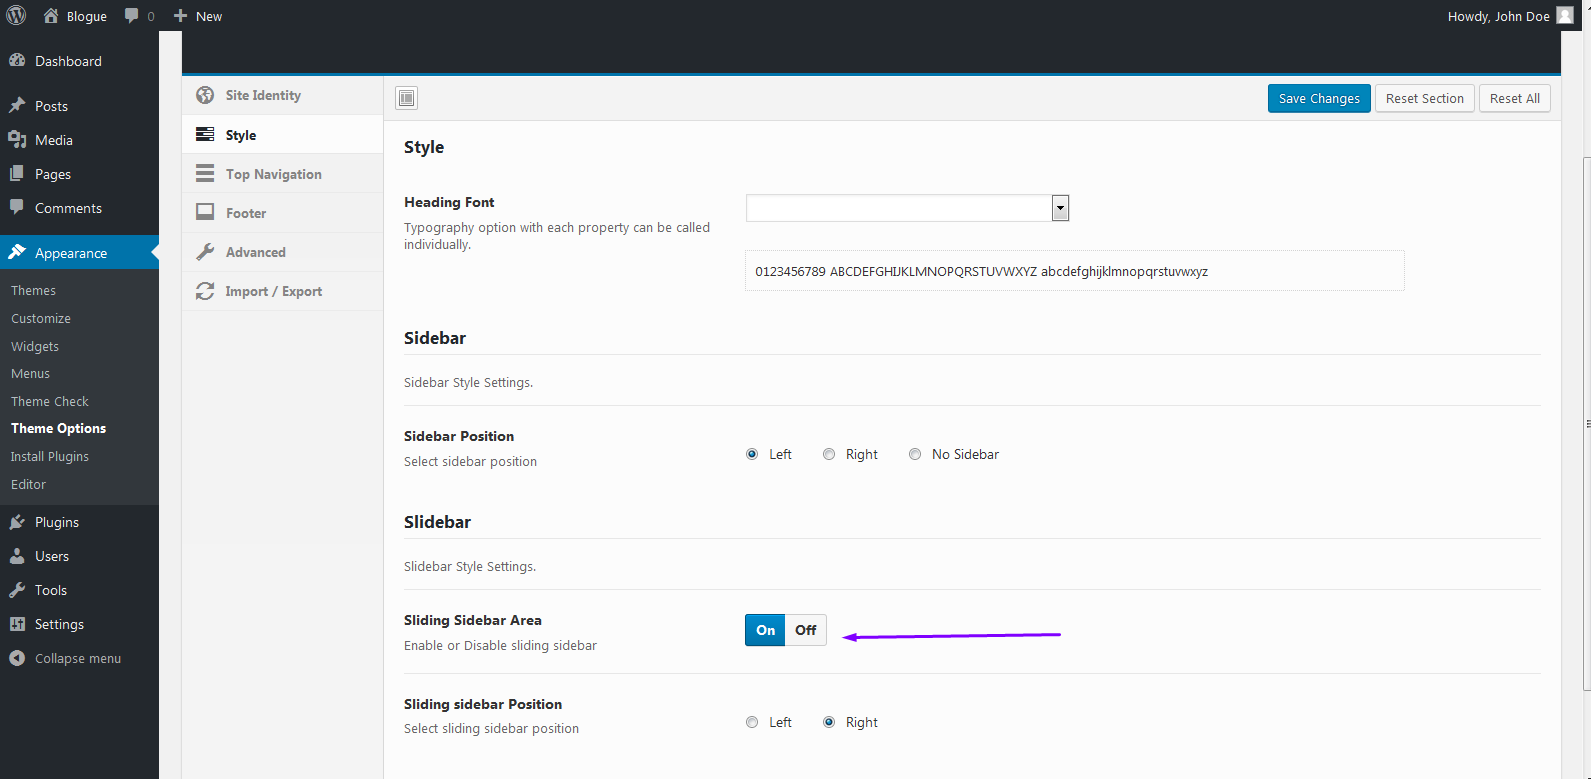
Segue theme has a unique feature that is slide sidebar
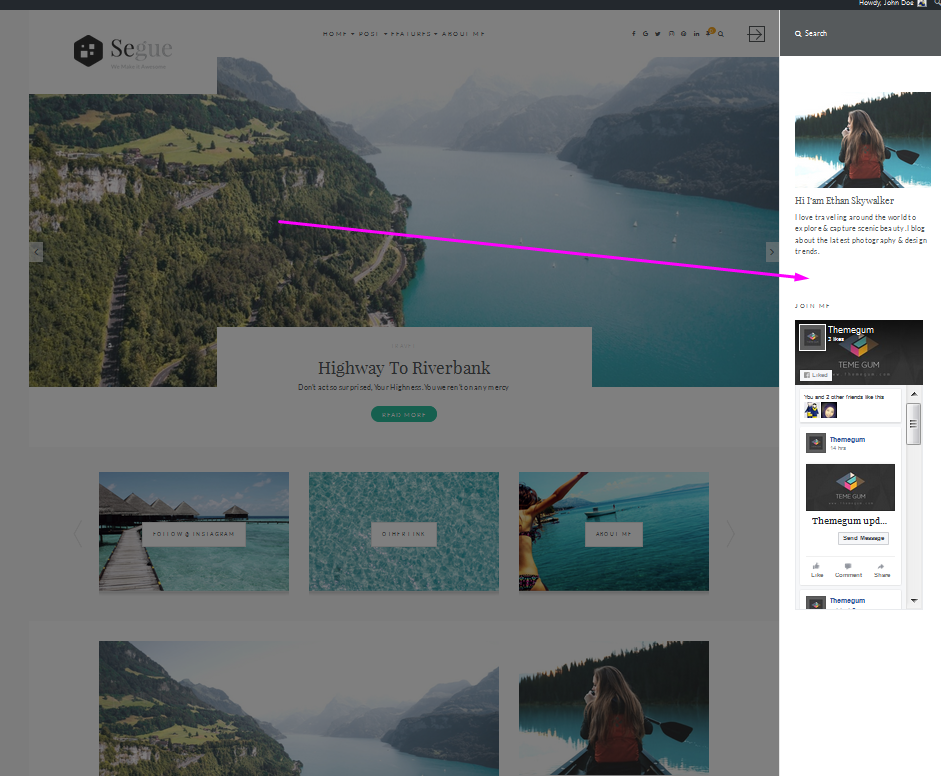
You can show or hide sidebar area. Is easy, you can control from Go to Dashboard > Appearance > Theme Options > Style > Sliding Sidebar Area, Click on or off to enable and disable.
Configure Top Bar Height
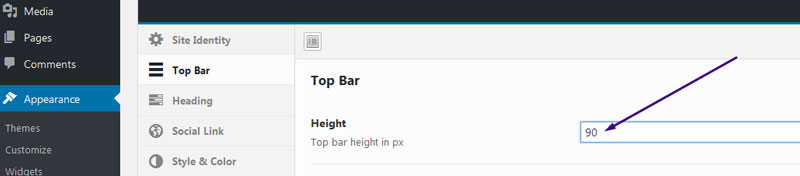
In addition to change top bar height, you can control from Go to Dashboard > Appearance > Theme Options > Top Bar, Put your height value in px then click Save Changes button.
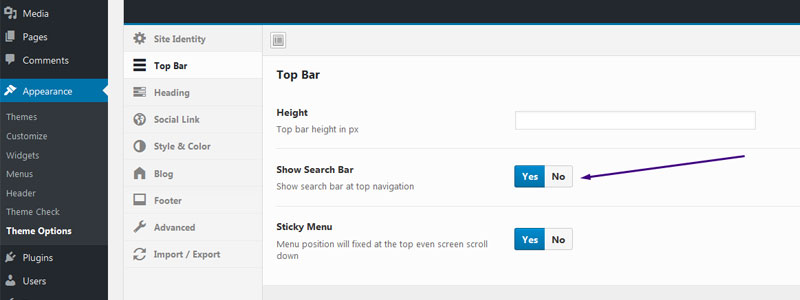
Show/Hide Search Bar On Top Bar
In addition to change top bar height, you can control from Go to Dashboard > Appearance > Theme Options > Top Bar, On field Show Search Bar click "Yes" to display search bar on top bar or "No" to hidden then click Save Changes button.
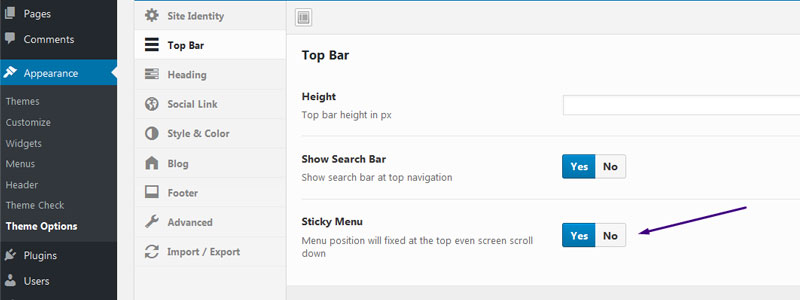
Setting Main Menu as Sticky
In addition to change top bar height, you can control from Go to Dashboard > Appearance > Theme Options > Top Bar, On field Sticky Menu click "Yes" to set sticky top bar or "No" to normal position then click Save Changes button.
Configure Logo
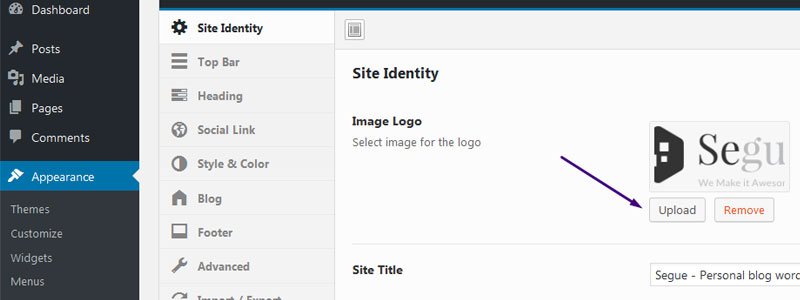
Uploading a Logo
Go to Dashboard > Appearance > Theme Options > Site Identity > Image Logo, Click "Upload" button.
Setting Logo Position
Go to Dashboard > Appearance > Theme Options > Site Identity > Logo Position, tick on radio option then click Save Changes.
Avaiable option: default, logo on left, logo on center, logo on right.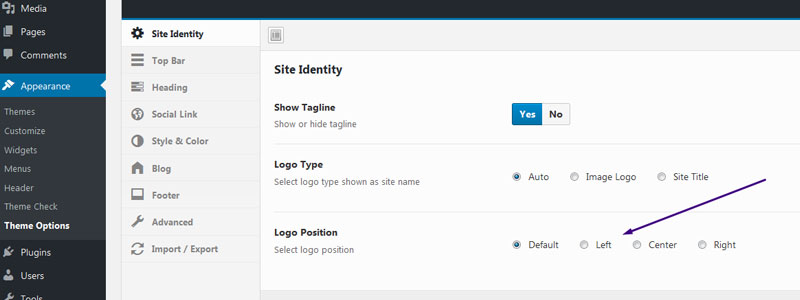
Configure Heading
Go to Dashboard > Appearance > Theme Options > Heading
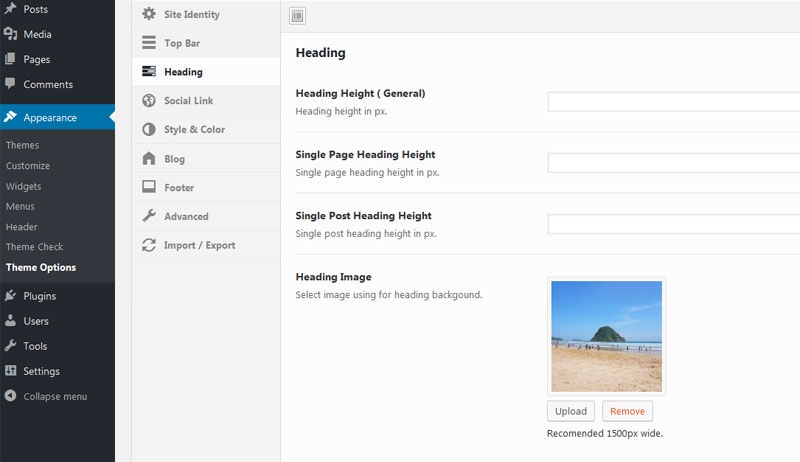
In addition heading setting, you can adding heading image and set different heading height for single page, single post and general page.
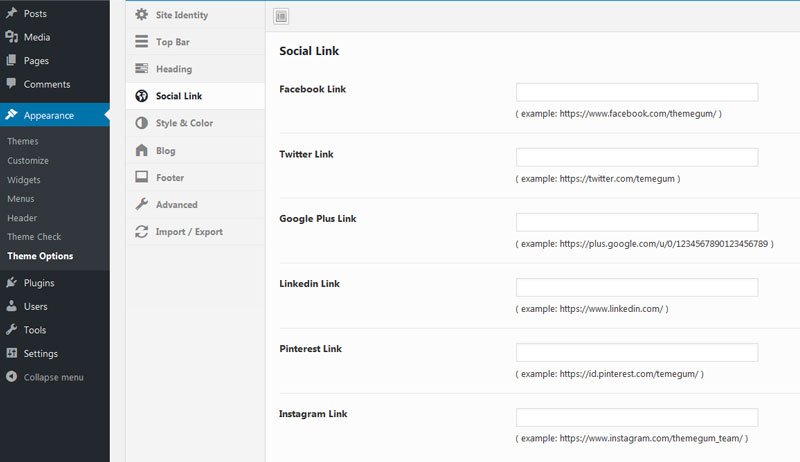
Configure Social Link
Social Icon On Top Bar
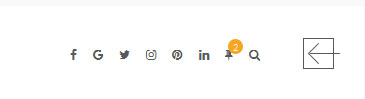
In addition to showing or hidden the social link just put url or leave blank fielad. If field has link the social icon automaticaly will diwplay at right top bar
Dashboard > Appearance > Theme Options > Social Link, Fill the fields then click Save Changes.
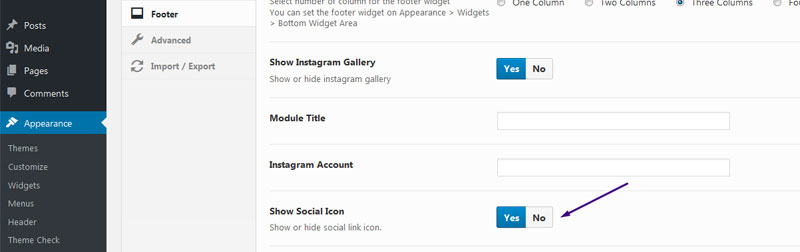
Displaying Social Icon On Bottom/Footer

Before can display social icons, field icon must filled.
Dashboard > Appearance > Theme Options > Footer, at "Show Social Icon" field click "Yes" to show social icons or "No" for hidden then click Save Changes button.
Configure Footer Widget
Disable / enable Footer Widget Area
In addition to showing or hidden the widget area an footer, you can control from Go to Dashboard > Appearance > Theme Options > Footer > Widget Area, Click on or off to enable and disable.
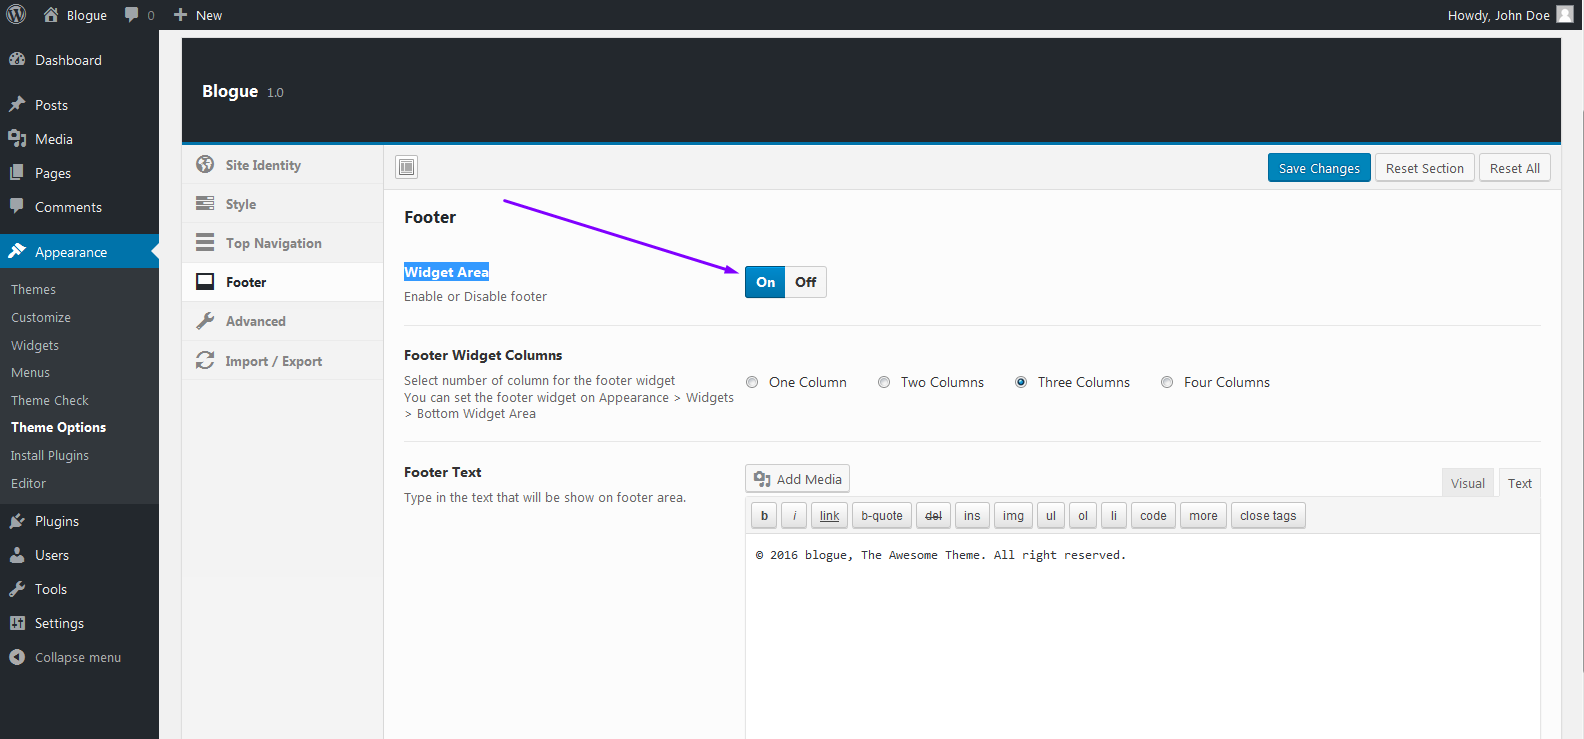
Change Column Footer Widget Area
In addition to define how split bottom widget area into several colum, you can control from Go to Dashboard > Appearance > Theme Options > Footer > Widget Area > Footer Widget Columns, tick on radio option then click Save Changes.

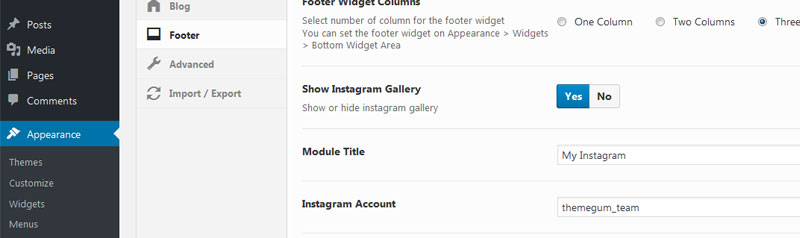
Configure Footer Instagram Gallery
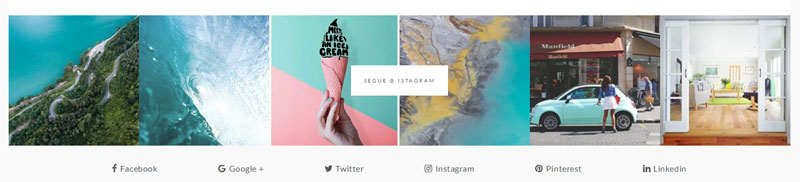
Display instagram gallery is simple, you just bring instagram account. Go to Dashboard > Appearance > Theme Options > Footer > Instagram Account, put instagram account then set "Show Instagram Gallery" on Yes position.
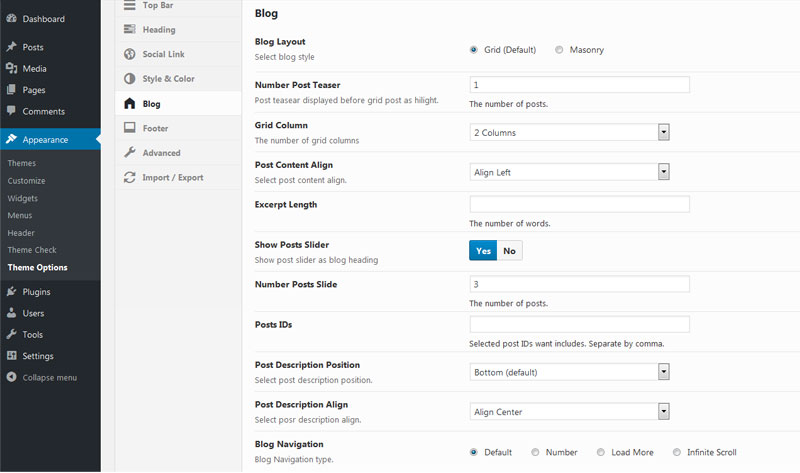
Configure Blog
Front page & Posts page Blog
This is general setting for blog. Go to Dashboard > Appearance > Theme Options > Blog, tick on radio option then click Save Changes.
Translating The Theme
SEGUE is localized and you can easily translate it to any language you like. Please make sure that the font that you are using on your website is supporting your language characters. For example Cyrillic characters.
In order to translate the theme to any other language, follow the steps below:
Step 1 – Open po editor such as poedit
Step 2 – Open .po file identified to language code used in /languages directory. Example if you need Bahasa will named id_ID.po then go Step 4 if .po file not found you must create .po file from .pot file or copying from other language code ( go Step 3 ).
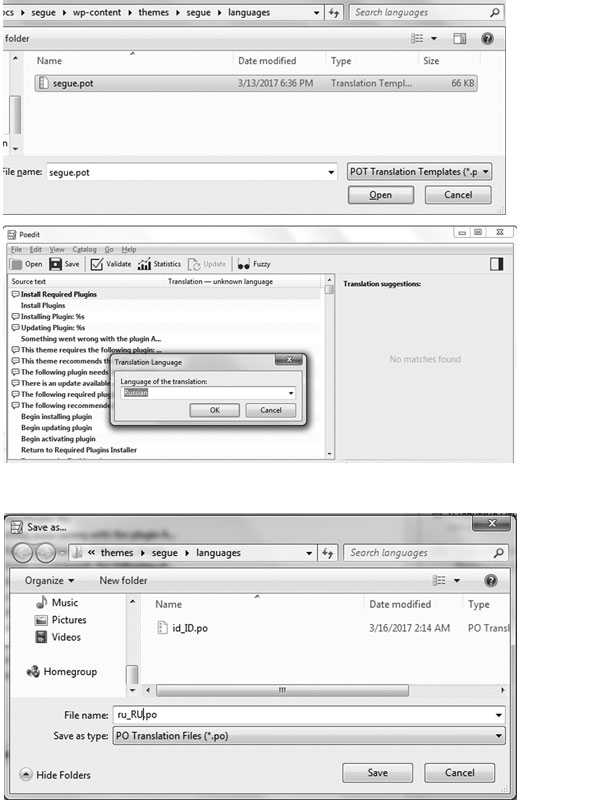
Step 3 - Creating .po file.
- .po file can creating from copy other file than rename it to your language code for example duplicate id_ID.po and rename to ru_RU.po ( if want Russsian language )
- .po file creating from .pot file. From Poedit menu, open Create new translation and select segue.pot file then select translation language then save with name ru_RU.pot ( if want Russsian language )
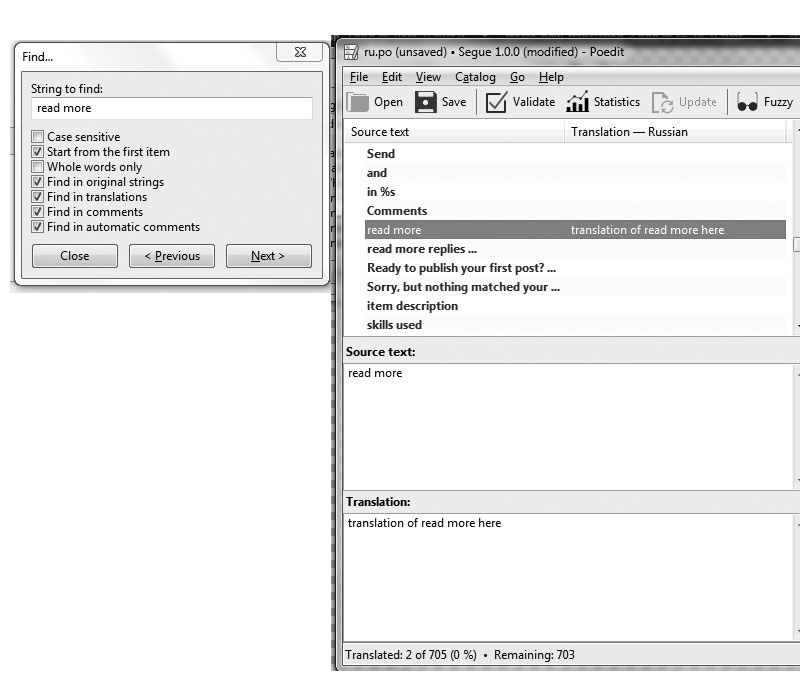
Step 4 – Search for string you want to translate into, then save it.
Step 5 – Once you’ve done with steps above, navigate to Settings > General > Site Language. Select your language from select option.
Importing Demo Content
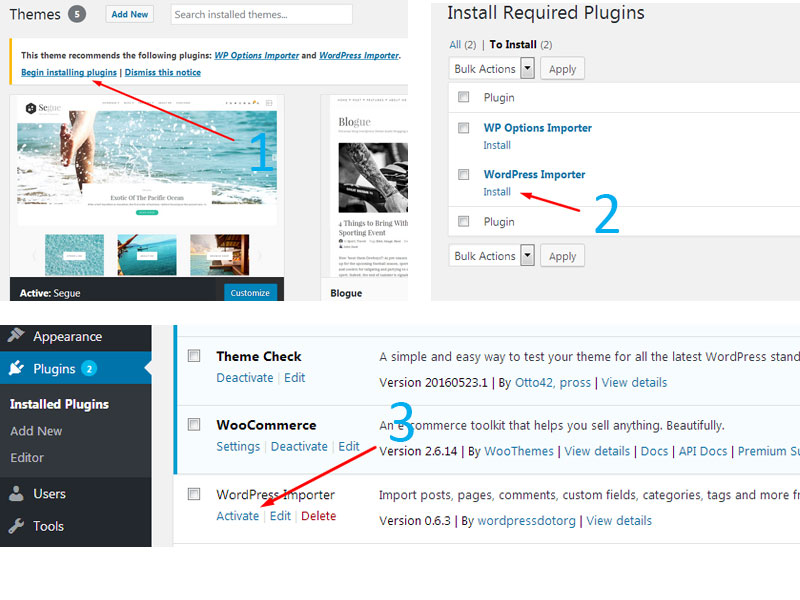
Demo content packaged as .xml file as WordPress standard. Make sure the website have WordPress Importer Plugin installed. These plugin is bundling with theme using TGM Activation
Step 1 – Make sure the WordPress Importer Plugin installed and activated
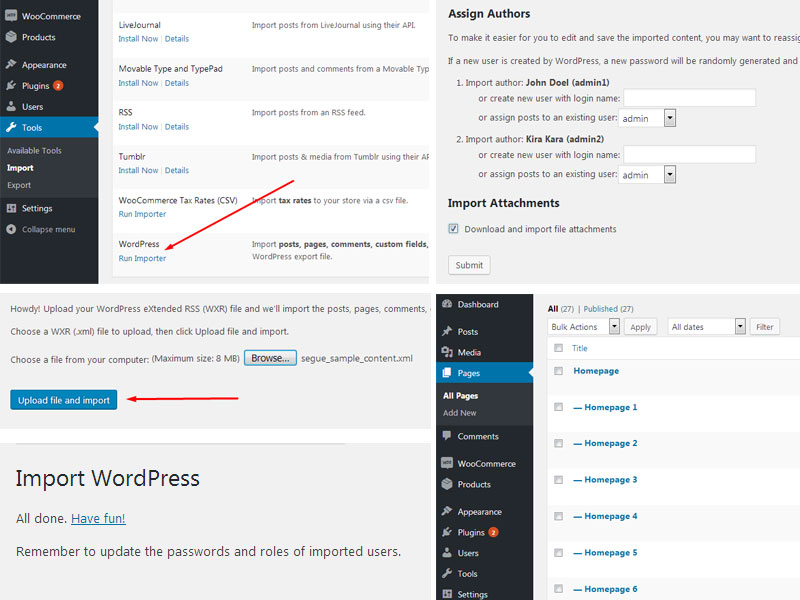
Step 2 – Importing proccess
Before importing proccess, make sure the segue_sample_content.xml file availbale. You can get the demo content in Demo Content folder file where this file is included in downloaded zip file.

From Admin Panel : Tools > Import > WordPress, click choose file button and then select corresponding file from segue_sample_content.xml. Continue with Upload File and Import.
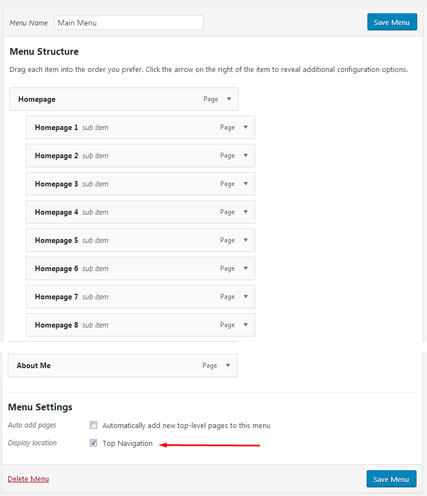
Step 3 – Assign Menu
Navigate to : Appearance > Menus > Manage Location and then choose Main Menu on the drop down list then tick Top Navigation on Menu Settings. click Save Changes when you finish.
E) Sources and Credits - top
Special thanks to:
- WordPress
- Font Awesome for tons awesome glyph icon
- Bootstrap is the most popular HTML, CSS, and JS framework for developing responsive, mobile first projects on the web
- Redux Framework for Powerfull Options Panel
- Social Count Plus Plugin by Claudio Sanches
- jQuery Lightbox by Lokesh Dhakar
Once again, thank you so much for purchasing this theme. As I said at the beginning, I'd be glad to help you if you have any questions relating to this theme. No guarantees, but I'll do my best to assist. If you have a more general question relating to the themes on ThemeForest, you might consider visiting the forums and asking your question in the "Item Discussion" section.
Atawai